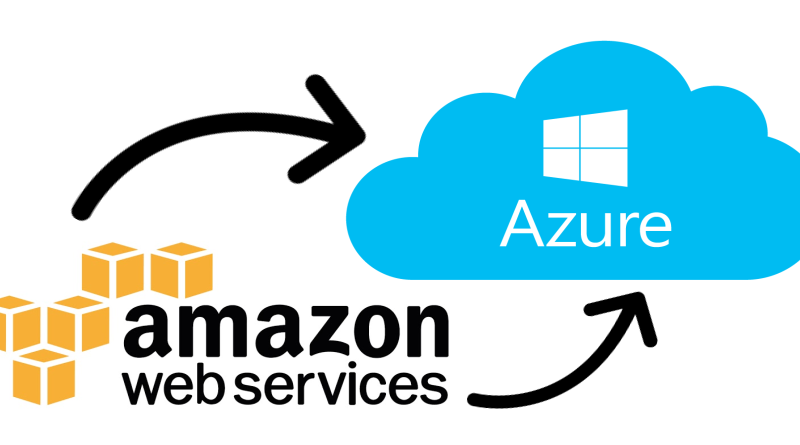
Migrating an Amazon AWS EC2 Instance to Microsoft Azure
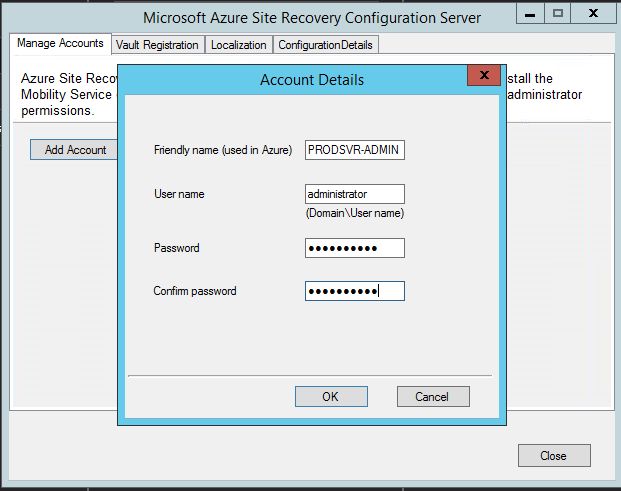
After clicking OK to save my admin info, I moved onto the Vault Registration screen:
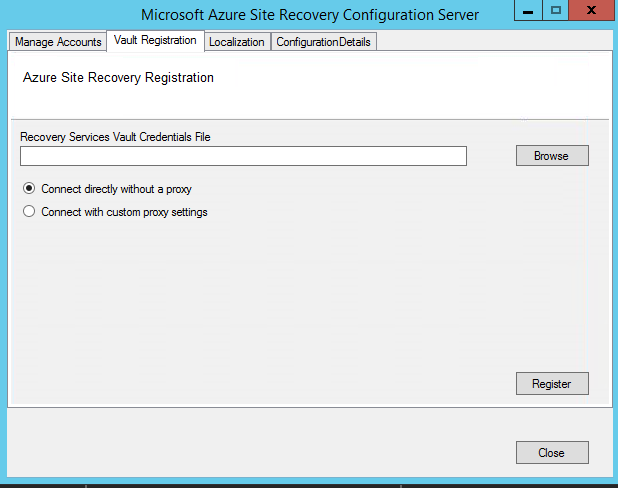
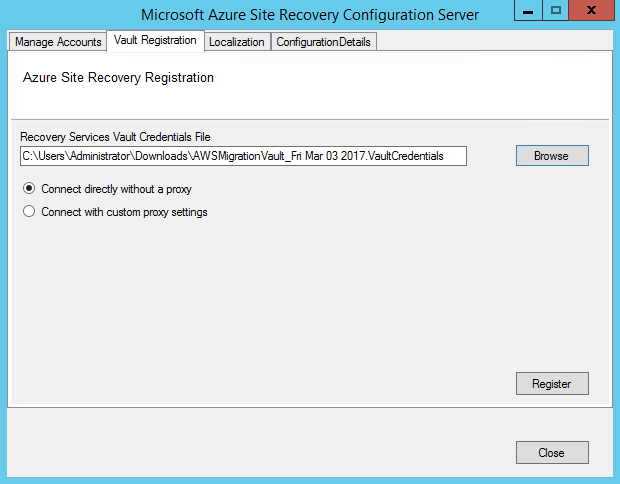
On the Vault Registration screen, I had to browse to my credentials file I downloaded earlier and also opted to connect directly without a proxy:
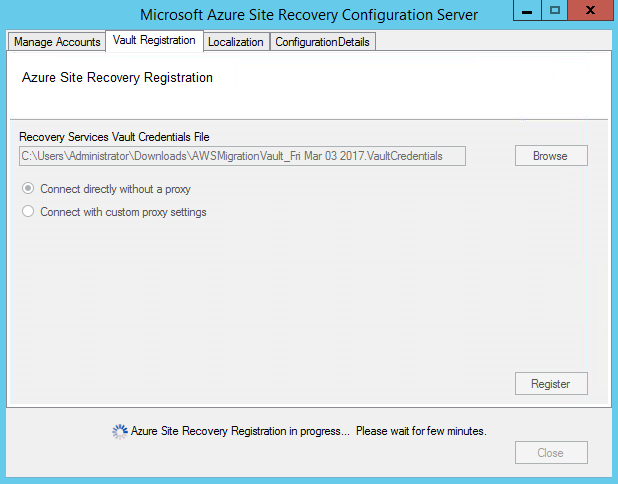
After clicking Register, the registration process began:
After a few minutes, I received a message that registration succeeded:
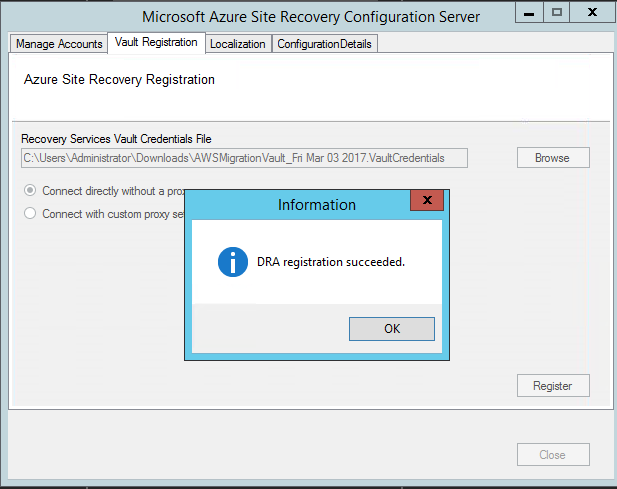
SUCCESS!
At this point, I clicked OK to complete and exit out of the installer. I switched back over to my Azure portal and clicked the blue OK button to complete step 2:
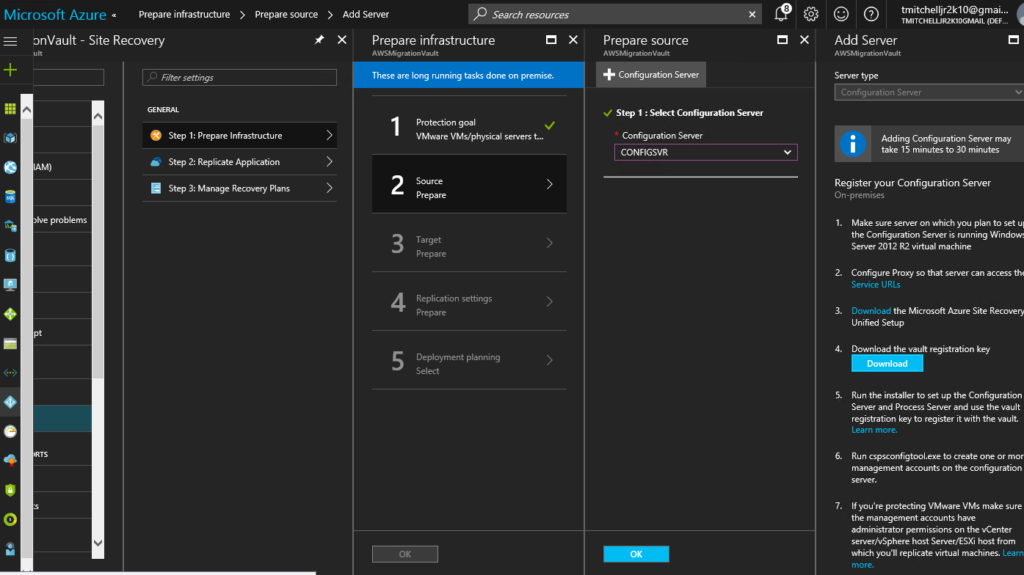
My CONFIGSVR server was now configured and registered with my Recovery Services Vault in Azure.
The next step in the configuration process was to prepare the target:
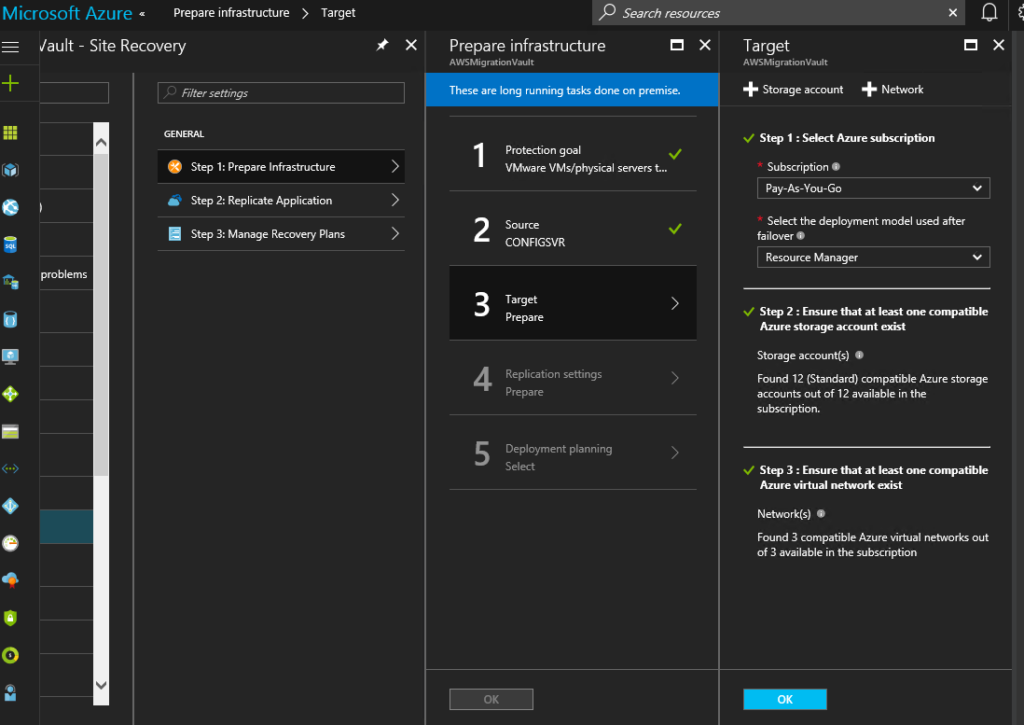
Because I pre-created my Storage Account and Network, all I had to do for step 3 (screenshot above) was click OK.
In step 4, I had to configure a replication policy:
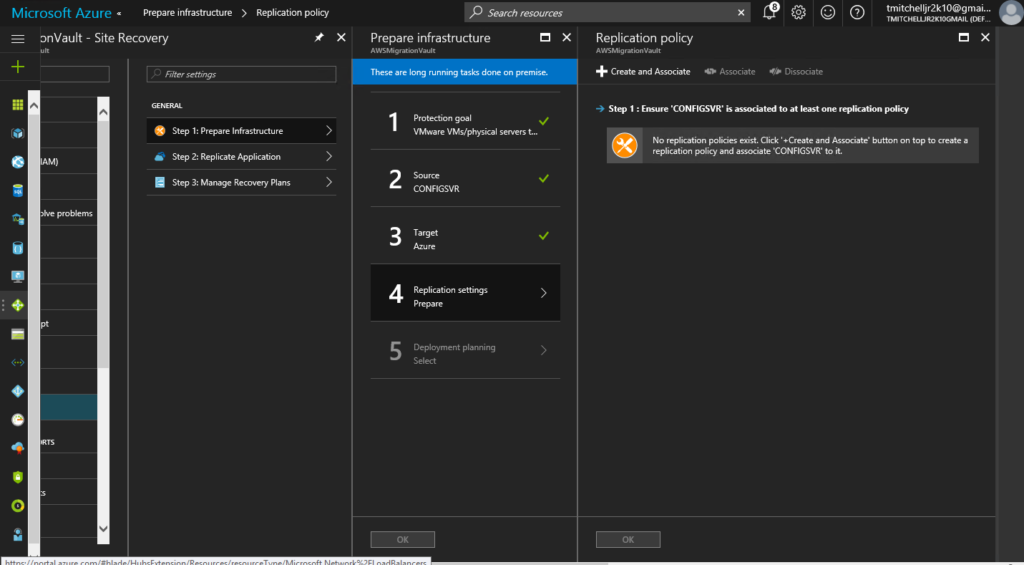
To create my replication policy, I clicked the “+ Create and Associate” option and provided a name for my policy:
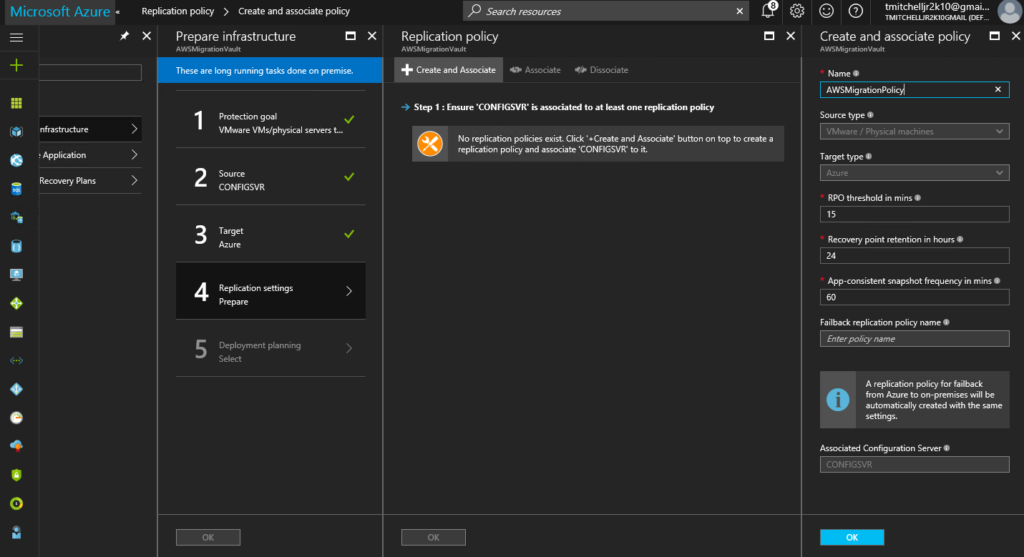
After clicking the blue OK button, configuration commenced:
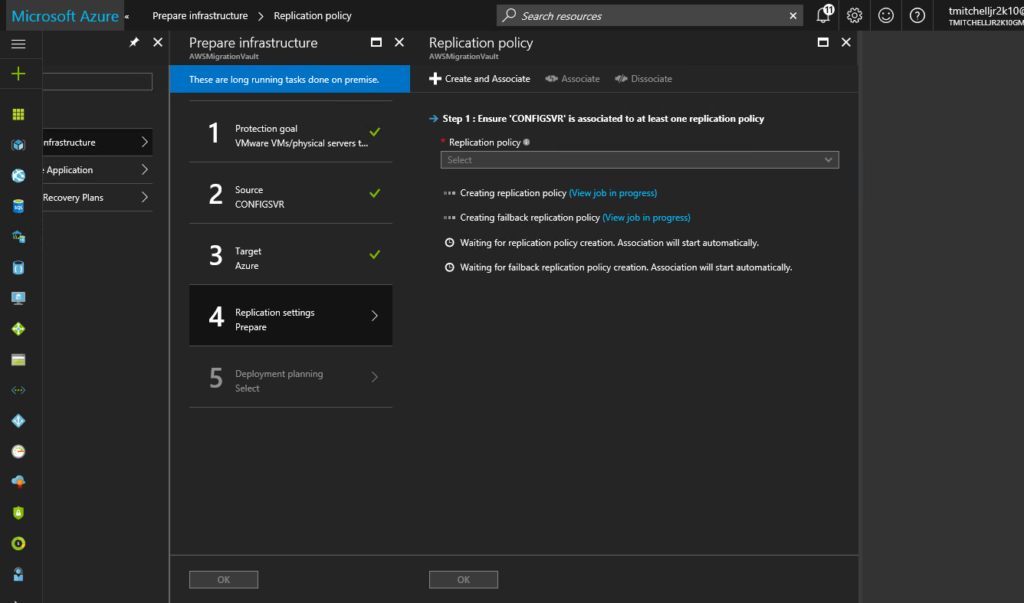
After configuration completed, I clicked OK to move onto step 5.
I’m only migrating a single machine so I’m confident I am all set here so I’ll select “Yes, I have done it” and then click OK:
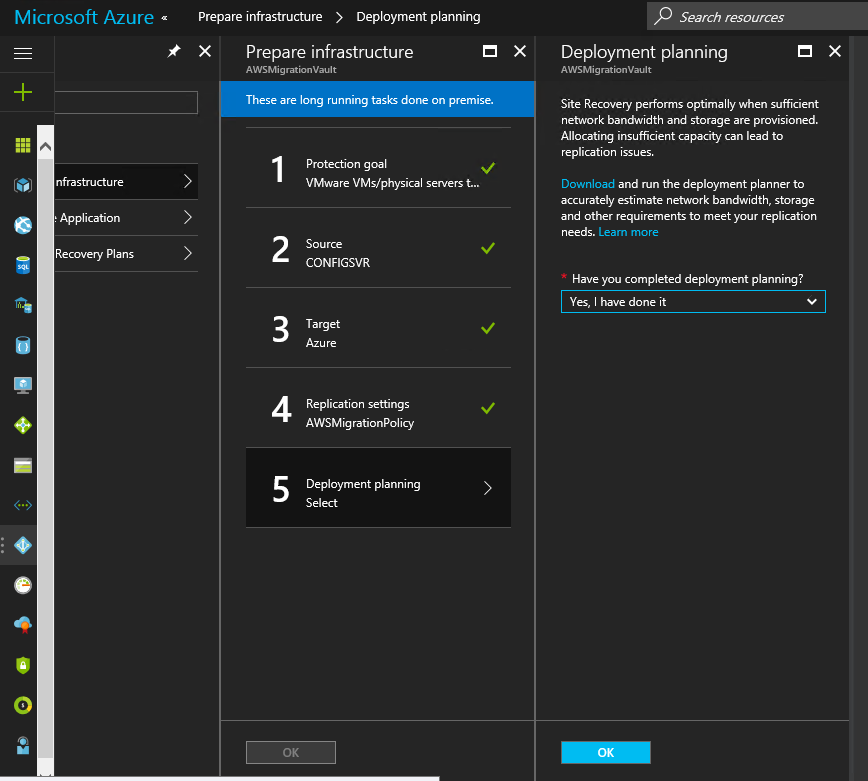
In production, you will want to download and run the deployment planner:
(https://docs.microsoft.com/en-us/azure/site-recovery/site-recovery-deployment-planner)
At this point, I clicked OK again to finish preparing infrastructure.
Click here to join the Understanding Azure Facebook group or here for the latest Azure practice questions, answers, explanations, and reference materials.