Deploying an Auto-Scaling VM Scale Set with a Custom Disk Image
The Gold Image
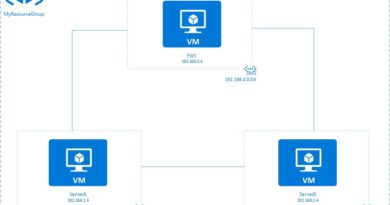
Since I wanted all instances in my scale set to have the same identical configuration, including the web app settings and config, it only made sense that I would start by deploying a virtual machine in Azure, installing IIS on it, and then configuring my web app on it. With that in mind, I deployed a D1_v2 virtual machine with managed disk, installed IIS, and configured my web app.
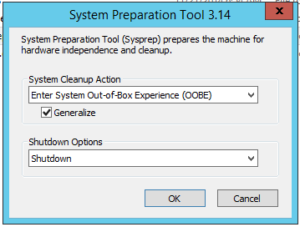 Once I confirmed that my web app was working, I ran SysPrep on the VM, chose OOBE with the “Generalize” option, and told SysPrep to shut the machine down when it was done.
After a few minutes, the machine was SysPrepped and shutdown so went into the Azure portal and stopped it to completely deallocate it.
I then needed to capture an image of my VM’s disk so I could use it as a reference for my scale set instances. To capture an image, I waited for my VM to be completely deallocated in my portal and then simply clicked the “Capture” button in Azure.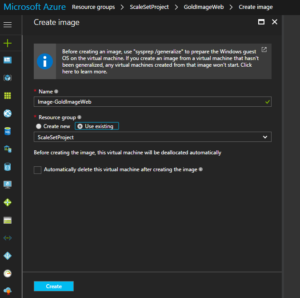
I waited for the capture to complete (about 3 minutes). My captured image would be the “Gold Image” that my scale set instances would use. Once the capture completed, I looked at the properties of the new disk image resource in my portal so I could note the location of the image.
The value under RESOURCE ID is the location of the image that I was interested in so I copied and pasted to a text file for future reference.
Click here to join the Understanding Azure Facebook group or here for the latest Azure practice questions, answers, explanations, and reference materials.